Porcelain pumpkins are handmade Halloween decorations that outlast plastic and foam versions by years, even decades. You shape them from porcelain clay, fire them in a kiln, and finish them with glazes that create a warm, glowing look no store-bought decoration can match. They won’t crack, fade, or fall apart after two seasons. With the right tools and a little patience, you can make something your mantle will thank you for every October — and there’s plenty more to unpack ahead.
Why Porcelain Outlasts Plastic and Foam Pumpkins
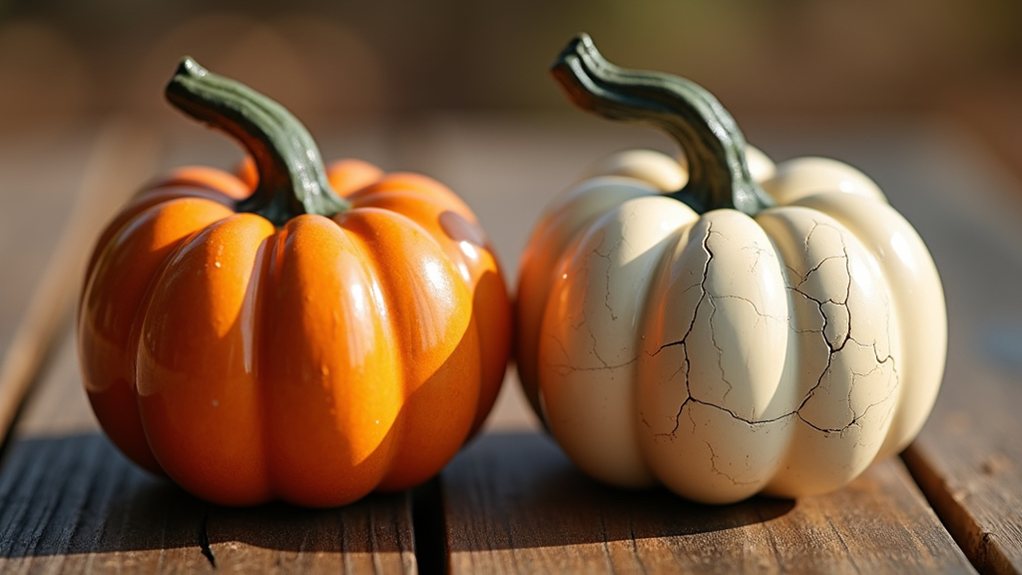
When’s the last time a plastic pumpkin survived more than a couple of Halloween seasons without cracking, fading, or looking like it lost a fight with the sun? Probably never. Plastic and foam break down fast, especially with temperature swings and UV exposure. You end up tossing them after a season or two, which wastes money and adds to landfill waste.
Porcelain is different. It’s dense, durable, and doesn’t absorb moisture, so it won’t warp, crack, or discolor over time. You can store it carefully each year and pull it out looking just as good as the first Halloween you displayed it. That kind of longevity makes porcelain the smarter, more sustainable choice you’ll actually feel good about making.
Porcelain Pumpkin Tools and Materials You’ll Need
Before you start shaping your first porcelain pumpkin, you’ll want to gather the right tools and materials so the process actually goes smoothly. You’ll need air-dry porcelain clay, which is beginner-friendly and doesn’t require a kiln. Grab a sleek rolling pin, a sharp craft knife, and a few basic sculpting tools for detail work. A foam ball or crumpled aluminum foil works great as an inner support structure while your pumpkin dries. You’ll also want acrylic paints in classic orange, deep green, and black, plus a sealing varnish to protect the finished piece. A fine-tip brush helps with delicate details like carved face lines. Keep paper towels nearby too, because clay gets messy fast, and that’s just part of the fun. Porcelain materials like the white porcelain used for Cheeky Porcelain Pumpkins are designed for durability and timeless appeal, which is especially nice for year-after-year display porcelain durability.
How to Shape a Pumpkin Without a Pottery Wheel
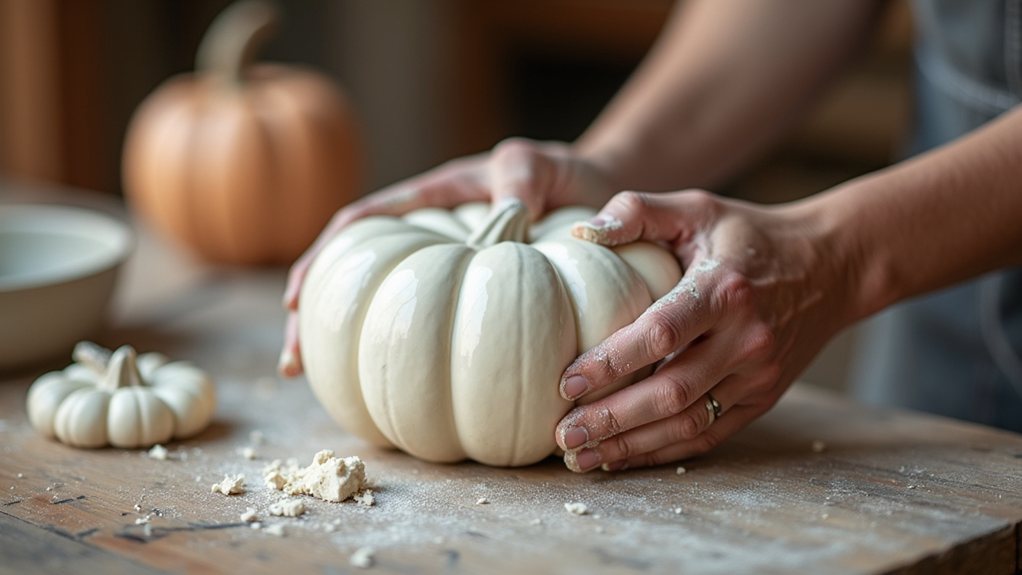
Shaping a pumpkin by hand is honestly easier than it sounds, and you don’t need a pottery wheel to pull it off. Start by rolling your porcelain clay into a smooth ball, about the size of your fist. Then, using your thumbs, press gently into the center to create a hollow space. Work the walls evenly, rotating the piece as you go. To get that classic pumpkin shape, use a wooden skewer or stylus to press vertical lines around the outside, creating those signature ridges. Don’t press too hard — subtlety looks more realistic. Pinch a small stem from extra clay and attach it to the top. Smooth the seams with a damp sponge, and you’re basically done shaping your little pumpkin masterpiece. This handmade process mirrors the Porcelain Ghost Jumper’s emphasis on unique character and the handcrafted charm that makes each piece feel special. handmade craftsmanship and durable porcelain ensure your seasonal display maintains its whimsical appeal year after year.
How to Carve and Texture Your Pumpkin’s Surface
Once your pumpkin’s shaped and ready, it’s time for the really fun part—carving and texturing the surface to give it some serious personality. You’ll want to grab the right tools first, like loop tools, needle tools, or even a simple toothpick, since the right choice makes all the difference between a clean design and a frustrating mess. From there, you can press stamps into the clay for quick, repeatable patterns or smooth out the finer details with a damp sponge for a polished, professional finish.
Choosing Your Carving Tools
Now that your clay pumpkin has taken shape, it’s time to think about the tools you’ll use to carve and texture its surface. You don’t need a fancy toolkit to get great results. A simple wooden skewer works beautifully for etching fine lines and delicate details. A plastic clay knife helps you cut clean shapes without dragging or tearing the surface. For adding texture, try pressing a crumpled piece of aluminum foil gently against the clay — it creates a surprisingly realistic pumpkin skin effect. A soft silicone brush lets you smooth rough patches between carved sections. Even an old toothbrush adds interesting texture if you dab it lightly. Gather these simple tools before you start, and you’ll move through the carving process with confidence and ease.
Creating Texture With Stamps
Stamps are one of the easiest ways to add beautiful, repeating patterns to your clay pumpkin before it dries. Press any textured object firmly into the surface, then lift it straight up to avoid smearing. You’ll get crisp, clean impressions every time with this simple technique.
Try these stamping ideas for stunning results:
- Lace fabric creates delicate, intricate patterns that look surprisingly elegant
- Bubble wrap adds a quirky, bumpy texture that catches candlelight beautifully
- Carved erasers let you create completely custom, repeating designs
- Leaves or flowers pressed into clay produce realistic botanical impressions
Work quickly since clay starts drying faster than you’d expect. Overlap your stamps slightly for a cohesive, all-over pattern rather than scattered, disconnected marks. Your pumpkin will look professionally crafted without requiring any serious artistic skills.
Smoothing and Refining Details
After you’ve stamped your patterns into the clay, it’s time to smooth out any rough edges and refine the details that’ll make your pumpkin look polished. Grab a damp sponge or your fingertip and gently blend any jagged lines left behind by your stamps. Think of it like editing a rough draft — you’re not starting over, just cleaning things up.
Use a small sculpting tool or toothpick to sharpen fine details, like the curved ridges running down the pumpkin’s sides. If the clay feels too stiff, a tiny drop of water softens it right up. Work slowly and check your piece from multiple angles. What looks great straight-on might’ve a weird bump from the side — and nobody wants a lumpy pumpkin.
Firing Temperatures and Whether You Need a Kiln
Porcelain needs to be fired at high temperatures, typically between 2,300°F and 2,400°F, which means a kiln isn’t just helpful — it’s pretty much indispensable for true porcelain pieces.
If you don’t have access to a kiln, don’t panic; many local pottery studios and community colleges offer kiln rental or firing services at reasonable prices.
You can also explore air-dry clay or oven-bake clay as kiln-free alternatives, though keep in mind they won’t have the same durability or translucent glow that makes porcelain so special.
Kiln Temperature Requirements
When it comes to firing porcelain pumpkins, the temperature requirements are no joke — and this is where things get real.
Porcelain needs seriously high heat to vitrify properly, and a regular oven won’t cut it.
Here’s what you need to know:
- Porcelain typically fires between 2,300°F and 2,400°F (cone 10), which is extremely high
- Most home ovens max out around 500°F — nowhere near enough
- A proper ceramic kiln is necessary to reach these temperatures safely
- Community pottery studios often rent kiln time, making this accessible without owning one yourself
Don’t let the temperature requirements discourage you. Renting kiln time at a local studio is surprisingly affordable, and it’s a great excuse to connect with your creative community.
Kiln-Free Firing Alternatives
Now, here’s some good news if you don’t have access to a kiln — but it comes with an important catch. Some crafters use air-dry clay instead of true porcelain, which skips the kiln entirely. You just shape it, let it dry, and paint it. Simple, right?
The catch is that air-dry clay isn’t real porcelain. It’s more fragile, less durable, and won’t give you that smooth, glassy finish that makes porcelain pumpkins so beautiful. If you want genuine porcelain results, you’ll need proper firing. No shortcuts exist there.
However, if you’re just starting out or crafting with kids, air-dry clay is a fantastic low-pressure option. You’ll still create something charming — just don’t expect it to last quite as long.
Which Glazes Give Your Pumpkin That Signature Glow?
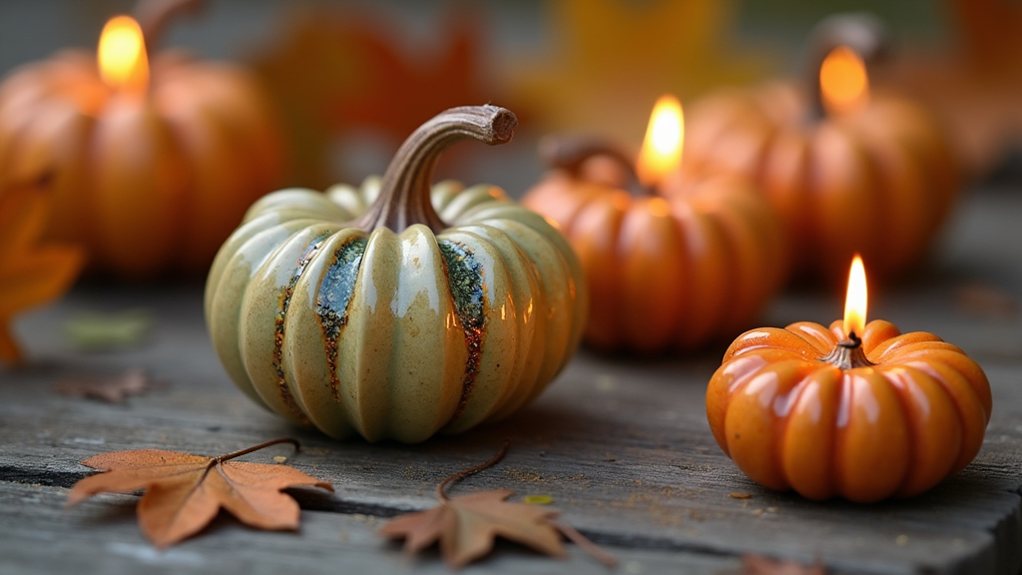
How you glaze your pumpkin makes all the difference between a piece that looks flat and one that practically glows from across the room. Choosing the right glaze isn’t complicated, but it does matter. You’ll want something that enhances porcelain’s natural translucency instead of hiding it.
Here are four glazes worth trying:
- Celadon glaze creates a soft, jade-like shimmer that feels elegant and mysterious
- Satin white glaze lets the porcelain’s warmth shine through without overwhelming it
- Amber or honey glaze mimics candlelight beautifully, perfect for Halloween vibes
- Layered reactive glazes shift colors unpredictably during firing, giving each pumpkin a one-of-a-kind finish
Don’t overthink it. Experiment freely, because happy accidents often produce the most stunning results you’ll proudly display every October.
How to Style Porcelain Pumpkins on Mantles, Tables, and Entryways
Styling your porcelain pumpkins is where the real fun begins, and honestly, you can’t go wrong as long as you keep a few simple tricks in mind.
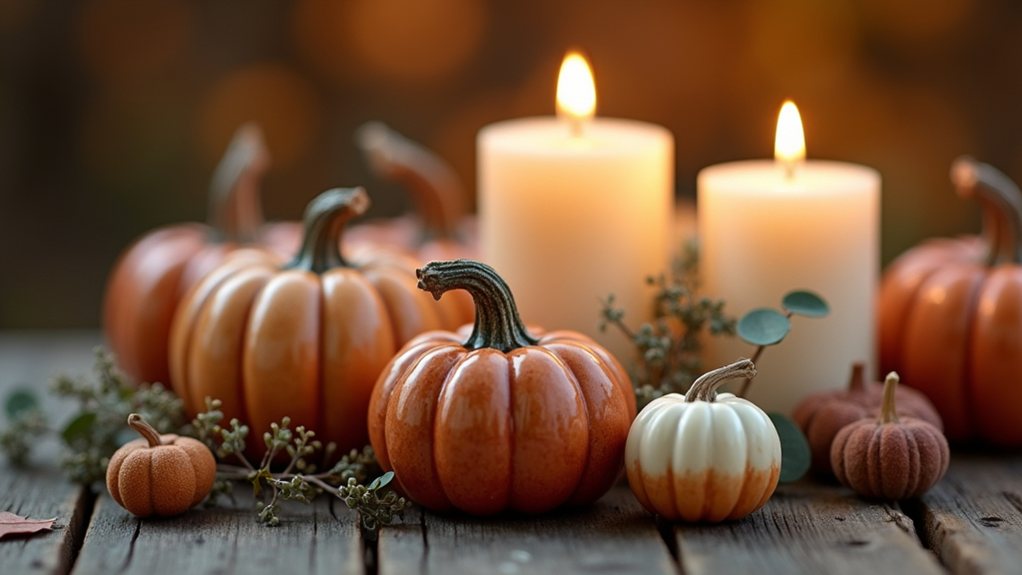
On your mantle, mix sizes — cluster a tall pumpkin between two shorter ones for a balanced, layered look. Tuck in some dried leaves or candles to fill gaps naturally.
For tables, try a simple grouping near the center with a small runner underneath. It ties everything together without much effort.
In your entryway, place a larger pumpkin beside the door and let it stand alone — sometimes less really is more.
The key is playing with height, texture, and spacing. Move things around until it feels right, because your eye will tell you when it works.
Storing Your Pumpkins So They Last Decades
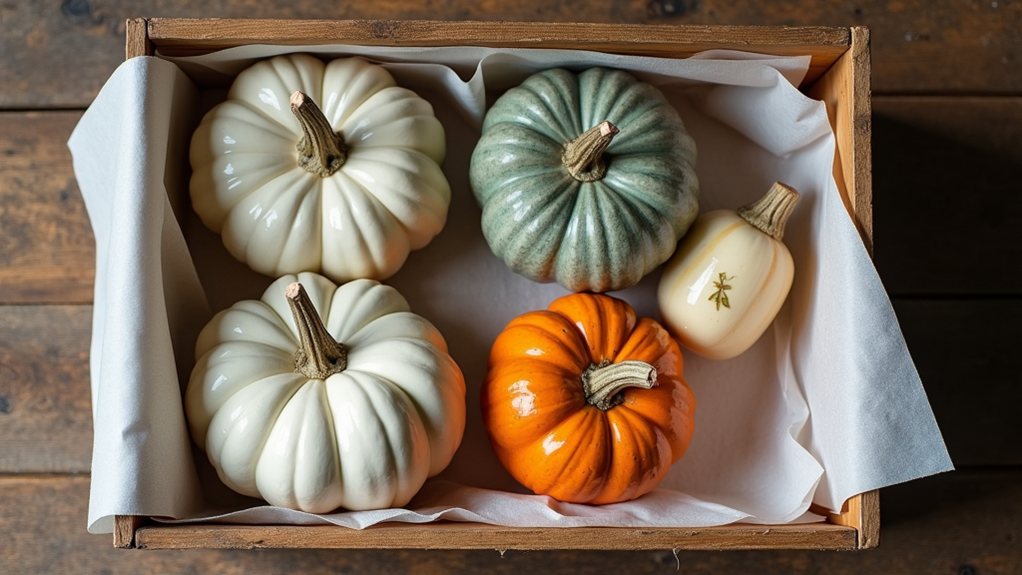
Once you’ve found the perfect spot for your porcelain pumpkins, the last thing you want is to toss them carelessly into a box come November. These beauties deserve better than that. Proper storage keeps them pristine for decades, so treat them like the heirlooms they are.
Here’s how to store them safely:
- Wrap each pumpkin individually in acid-free tissue paper or bubble wrap to prevent chips and scratches
- Use a dedicated storage box with dividers so they don’t knock against each other
- Store in a cool, dry place away from extreme temperatures and moisture
- Label your box clearly so you’re not digging through holiday chaos next October
A little care now means you’ll unbox something beautiful every single fall.
Final Thoughts
You’ve got everything you need to create a Halloween decoration that’ll outlast any flimsy plastic pumpkin from the store. Studies show handmade ceramic pieces can survive over 100 years with proper care — that’s a century of autumn mantles and front-porch displays. Your porcelain pumpkins aren’t just decorations; they’re little heirlooms. So fire up that kiln, trust your hands, and make something your grandkids will eventually argue over.