Traditional pottery making combines several essential materials and techniques you'll need to master. You'll start by selecting the right clay – earthenware is perfect for beginners, while stoneware and porcelain offer more challenging options. Before shaping, you'll prepare your clay through wedging and adding tempering materials like sand or grog to improve workability. You can create pieces using hand-building methods like pinch pots and coil building, or try your hand at wheel throwing for more refined vessels. The process finishes with firing and surface treatments, from ancient smudge firing to modern glazing techniques. There's a whole world of pottery possibilities waiting to unfold.
Essential Clay Types and Properties

Clay selection stands at the heart of successful pottery making, with four primary types dominating the craft.
You'll find earthenware clay's welcoming nature perfect for beginners, as it's highly plastic and easy to shape. While it's fired at lower temperatures, you'll need to glaze it to make it waterproof – but that's part of the creative fun! Terra cotta, with its earthy rich hues, is a popular earthenware choice for craft projects and flower pots.
If you're looking for something more robust, stoneware clay's your go-to choice. It's the workhorse of the pottery world, firing at high temperatures to create pieces that'll last for generations. Just imagine serving dinner on plates you've crafted from this durable material!
For those special projects where elegance is key, you can't beat porcelain clay. It's the prima donna of pottery, requiring careful handling but rewarding you with that gorgeous translucent finish you've admired in fine china.
Don't forget about ball clay, the unsung hero of the pottery world. While it mightn't get the spotlight, you'll often find it mixed into other clay bodies to boost their workability. It's like the secret ingredient that makes everything better!
Preparing Raw Materials
You'll find that proper clay selection and processing form the backbone of successful pottery making, starting with carefully extracting clay from the ground and running it through steps like levigation and sifting.
To get your clay just right, you'll need to mix it with water in basins, letting impurities settle out and removing them through various filtering methods. The final step involves wedging the clay to align particles and remove trapped air bubbles.
After the clay's been purified, you can blend in tempering materials like sand or grog to improve its working properties and reduce the risk of cracking during firing.
Clay Selection and Processing
Anyone pursuing traditional pottery must begin with proper clay selection and processing, as these initial steps lay the foundation for successful ceramic work.
You'll want to start by choosing between earthenware, stoneware, or porcelain clay, depending on your project's needs and your skill level. If you're just starting out, earthenware's your best bet – it's like the friendly neighbor of clay types!
Once you've selected your clay, you'll need to prepare it properly. Think of it as getting your clay in shape for its big performance!
Start by filtering and refining the raw material to remove those pesky impurities. You'll then want to knead and wedge the clay (it's basically like giving your clay a spa massage) to guarantee it's uniform and free of air bubbles. Ball clay types are particularly responsive to thorough wedging due to their high plasticity.
Don't forget to adjust the moisture level – too wet and you'll have a slippery mess, too dry and you'll feel like you're wrestling with concrete.
For best results, consider adding grog to improve strength and workability.
Tempering Material Preparation
Beyond selecting the right clay, preparing proper tempering materials is essential for creating durable pottery.
You'll want to start by choosing the right temper for your project – sand's a popular choice since it's easy to find and work with, while grog (those tiny bits of crushed fired clay) is fantastic for preventing thermal shock. A twenty percent ratio of temper to clay typically yields the best results.
When you're getting your tempering materials ready, you'll need to process them carefully. If you're working with stone or grog, you'll want to crush and grind them until they're just the right size.
For sand, you'll need to screen it to guarantee consistent particle size – nobody wants chunky surprises in their finished piece! You can use simple hand tools for small batches, or if you're feeling fancy, a mill processor works great for larger quantities.
The effort you put into preparing your temper really pays off. When you mix it properly with your clay, you'll notice it's easier to work with, dries more evenly, and won't crack as easily during firing.
Plus, you'll end up with stronger, more durable pieces that you can proudly display or put to good use.
Hand-Building Methods
While pottery making has evolved considerably over millennia, hand-building remains one of the most fundamental and versatile methods of creating ceramic pieces. You'll find three main techniques that'll help you bring your clay creations to life: pinch pots, coil building, and slab construction.
If you're just starting out, you'll love the pinch pot method – it's wonderfully simple and surprisingly satisfying. Just push your thumb into a ball of clay and pinch away until you've created a basic bowl or cup. These ancient vessels showcase organic aesthetic appeal that makes each piece uniquely beautiful.
Ready for something more ambitious? That's where coil building comes in. You'll roll out clay strips like tiny clay snakes, stack them up, and join them together to create larger pieces like vases or tall containers.
For those times when you're feeling particularly adventurous, try slab building. You'll roll out flat pieces of clay (think pizza dough, but less tasty!) and connect them to form whatever shape you're dreaming up.
Whether you're making plates, boxes, or sculptural pieces, you'll find that these time-tested techniques offer endless creative possibilities.
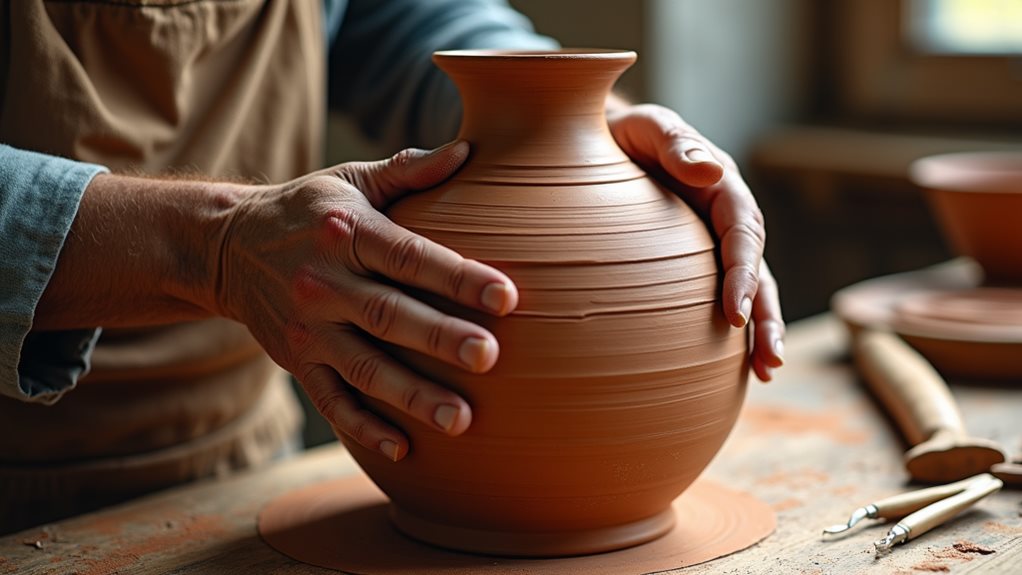
Wheel Throwing Fundamentals
Before you'll create beautiful pottery on the wheel, you'll need to properly prepare your clay through wedging and kneading to remove those pesky air bubbles. Electric and kickwheel options provide potters with diverse wheel choices for their creative journey.
You'll start your wheel throwing journey by mastering the essential skills of centering and opening, which might feel a bit like learning to ride a bike – wobbly at first but natural once you get the hang of it.
As your confidence grows, you'll learn to control the wheel's speed and pressure with the finesse of a conductor, turning simple balls of clay into graceful, well-balanced forms.
Preparing Clay for Throwing
Preparing clay for wheel throwing requires careful attention to detail and specific processing methods to achieve ideal results.
You'll need to start by extracting clay using either the dry or wet method – think of it as giving your clay a spa treatment! If you're using the dry method, you'll sift and pound the clay until it's as fine as flour. For the wet method, you'll mix soil with water and let it settle, removing impurities through levigation.
Once you've extracted your clay, it's time to refine it. You'll want to knead or wedge it thoroughly to remove those pesky air bubbles – it's like giving your clay a deep-tissue massage. Consider harvesting clay from areas where water collects, as these locations often yield the highest quality material.
Depending on your clay's natural characteristics, you might need to add some temper (like sand) to improve its workability.
Don't forget about aging your clay – it's like letting a fine wine mature. Store it wrapped in plastic or in an airtight container, and you'll find it becomes more plastic and workable over time.
Centering and Opening Steps
Moving into the heart of wheel throwing, centering and opening your clay are the foundational steps that can make or break your pottery piece. You'll want to start by wedging your clay and placing it as close to the center of the wheel as possible – think of it as giving your clay a cozy home right in the middle! Spending 1-2 minutes wedging will give you the optimal clay consistency for working.
When you're ready to center, here's what you'll need to focus on:
- Anchor your arms against your body like you're giving yourself a tight hug – this gives you maximum control.
- Use high wheel speed and steady hands to cone the clay up and down (it's like giving your clay a little workout!).
- Keep adding water as needed – think of it as your clay's favorite drink.
- Trust your hands and eyes to know when it's centered – if it looks still while spinning, you're golden.
Once you've got your clay centered, it's time to open it up. Use your thumbs to create a divot in the center, but don't go all the way to the wheel head.
Remember to slow down your wheel speed a bit as you widen the opening, keeping those sides even and smooth.
Advanced Wheel Control Techniques
With your clay centered and opened, advanced wheel control techniques will take your pottery to new heights.
You'll want to focus on pulling up the clay with steady, controlled movements – think of it like giving your clay a gentle upward massage! As you develop your muscle memory, you'll find it easier to maintain consistent pressure and create symmetrical forms.
When you're shaping your piece, pay attention to how you're using your hands and fingers to craft the desired form. Collaring techniques can help you create beautiful narrow openings at the top of your vessels.
Whether you're making a bowl, mug, or plate, you'll need to master the delicate balance of pressure and speed. Don't be afraid to adjust your wheel speed as needed – sometimes slower is better for detailed work, while faster speeds help with pulling up walls.
For more complex forms, you'll learn to alter your pieces through techniques like faceting, darting, or carving.
These methods add personality to your work and make each piece unique. Remember to keep your tools handy – ribs, calipers, and trimming tools are your best friends when it comes to refining and perfecting your forms.
With practice, you'll develop an almost instinctive feel for the clay.
Ancient Firing Techniques
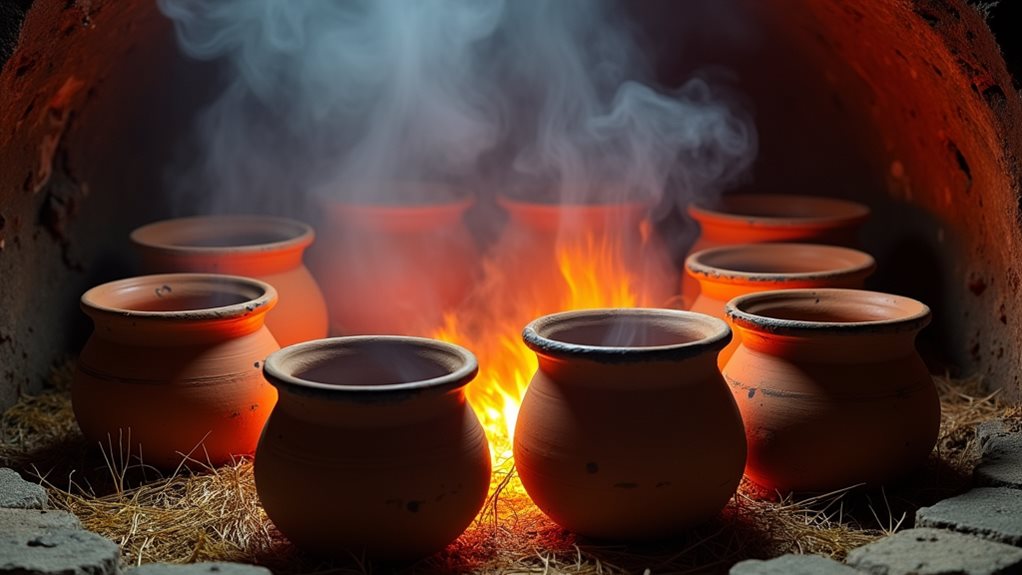
Ancient civilizations developed numerous firing techniques that revolutionized pottery making, each method offering unique characteristics and results. If you're fascinated by traditional pottery, you'll love learning how our ancestors mastered the art of firing their creations. They'd carefully select their fuel sources and perfect their methods through generations of trial and error. Dry clay items were essential to prevent dangerous explosions during the firing process.
Here are the key firing techniques you should know about:
- The famous three-stage Greek firing process that created those stunning black and red vessels you've seen in museums.
- The clever smudge firing technique that produced beautifully dark, sooty finishes.
- The sophisticated smothered fire method that the Anasazi used for their striking black-on-white pottery.
- The polychrome firing approach that gave potters those vibrant, clean colors we still admire today.
You'll find it amazing how ancient potters controlled their firing environments, whether using open fires or early kilns. They'd monitor temperatures by peeking through small holes and testing pieces, just like you'd check on cookies in the oven!
Wood was their go-to fuel, and they learned to master both oxidation and reduction atmospheres to create their remarkable pieces.
Surface Treatment and Decoration
Traditional pottery comes alive through an impressive array of surface treatments and decorative techniques that transform plain clay into stunning works of art. Alternating brush directions creates smooth, even coverage when applying glazes.
You'll find that there's a perfect method for every artistic vision you'd like to achieve, from basic glazing to intricate surface designs.
If you're just starting out, you might want to try dipping or pouring techniques – they're great ways to get even coverage on your pieces.
For more detailed work, you'll love using brushes to paint designs or try your hand at slip trailing, which lets you pipe liquid clay just like you'd decorate a cake!
Don't be afraid to experiment with textures either; you can create fascinating patterns using simple tools like sponges or combs.
Want to take your pottery to the next level?
Try combining techniques like wax resist with glazing – you'll create stunning patterns where the wax prevents the glaze from sticking.
Or give stippling a shot, where you'll build beautiful images dot by dot.
Whether you're layering multiple glazes or adding texture with sand, you'll discover that surface treatment is where your pottery truly becomes uniquely yours.
Traditional Tools for Pottery Making
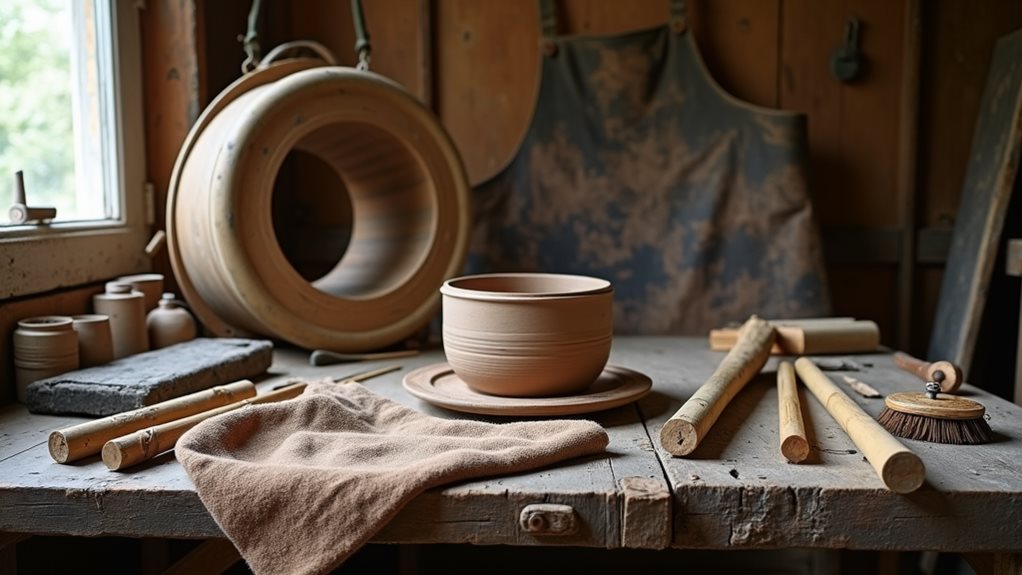
Every successful pottery piece begins with the right selection of tools, each serving a unique purpose in bringing your clay creations to life. From the essential fettling knife that helps you shape and smooth your work to the versatile wooden rib that's perfect for creating those beautiful curved surfaces, you'll find these tools become natural extensions of your creative hands. Plaster molds and extruders help create consistent shapes and forms for production work.
Here's what you'll love about working with traditional pottery tools:
- You can transform a simple lump of clay into art using basic tools like the wire cutter and needle tool – they're like magic wands for potters!
- The pottery wheel becomes your best friend when you're armed with throwing sticks and pot lifters, making it easier to shape those perfect vessels.
- You'll discover that handbuilding tools like rolling pins and slab mats open up endless possibilities for creating unique forms.
- Specialized tools such as texturing implements and carving tools let you add your personal signature to each piece.
Whether you're trimming with bent metal tools or smoothing surfaces with a trusty sponge, you'll find that each tool helps bring your artistic vision to life in its own special way.
Final Thoughts
You've now got all the ancient secrets of pottery making at your fingertips! From working that impossibly stubborn clay to creating vessels that'll last a thousand years, you're ready to get your hands gloriously dirty. Whether you're hand-building a tiny pinch pot or throwing massive urns on the wheel, these time-tested techniques will help you create pottery that'll make your great-great-grandchildren proud. Now go forth and let those ceramics sing!